Sunday, 26 February 2017

Twisted Seams in Jeans

I know I haven't mentioned it on here yet, but I'm onto my final collection of my BA (Hons) Fashion Design & Production at York College. It's called The Shire and is based largely on The Hobbit and LOTR (follow my Instagram for better updates). I've more or less got my final designs and two of the garments are jeans (oh yeah, I now work at Levi's in York City Centre as a stylist and tailor). There will be a pair of Mom Jeans and a pair of skinny jeans. First I'm working with the Mom Jeans.

At Levi's we have some jeans like this. They're a slim, relaxed fit in the leg, with a good fit in the bottom, and a fairly straight waist. The latter is something I will not be incorporating because I like my jeans to stay up without a belt, but the legs are good and I want to use that look. So I compared the cut with those from Metric Pattern Cutting for Womenswear and found that they are wildly different, but both look good. The latter didn't look Mom-jeanish though when I toiled them.

This is what the Metric Pattern Cutting Jeans look like if you widen the legs to make them Mom-jeanish

This is the shape of Levi's jeans like the 501s, Wedgie-fit, and 501CT (from memory)

Now, bear in mind that the first ones are size 12, and the latter ones are my size (approximately 8) so mine are narrower. The legs on the Levi's jeans are much straighter at the outseam than the Metric Pattern Cutting ones. The alignment is also a lot closer to the side seam; you could very nearly make selvedge jeans with that pattern!

So I printed it out in my size and toiled it. All going to plan, but I made the pattern too long and shortened it on paper. This is where things began to go awry. When truing the side seam I forgot to take account of the yoke on the back, so the front pattern ended up 3cm too short, and of course I didn't realise at the time.
I noticed something was wrong when I was sewing the inseam and the back was not only not shorter than the front (it should be) but it was too long by a fair bit. I just cut it off the crutch with the overlocker (bad move). Now the inseams matched. So I sewed the side seams, and realised that it wasn't just the inseams that wouldn't have matched. I carried on sewing and tried the toile on afterwards.


Now, the first problem was the bum-nose. I do not wish to appear as if I have a tail tucked in there. I assumed that this was probably due to the issue with the crutch seam, so I moved on.

Another issue came to my attention when I looked down. The legs had twisted symmetrically. I could not fathom why. Levi's jeans didn't. And my toile wasn't even in twill so that couldn't be it. Surely it must be the fit?

I cut up one leg and examined the new shape. It was... odd.

Front leg of toile
Rear leg of toile

Now, I assumed, based on half-remembered facts about twisted seams, that I must adjust the pattern to make the jeans hang right when I wear them. So I spent a good few hours playing with the pattern on Illustrator, in vain, because I couldn't get the seams to be corresponding measurements. After said good few hours it occurred to me to get the toile out and examine it again. I thought, What would happen if I lay the legs as they would have, had they been the same length to begin with and I hadn't chopped that bit off?
And this is what happened...twisting-legs The back leg's inseam was 3cm lower than the from leg, but sewn to match it, so the grainlines were not level. This meant the leg was trying to level itself out. As it couldn't do that magically, it twisted round like a spiral staircase. It sort of makes sense and evidently is what happened, as you can see in the above photo. Accidental Pattern Magic. As proof, if I lay the front leg properly across (as it should have been) all it well. I wore it pinned for a while correctly and it didn't twist. I didn't take any pictures of this (but I'm going to re-toile to eliminate this issue and check the fit otherwise).
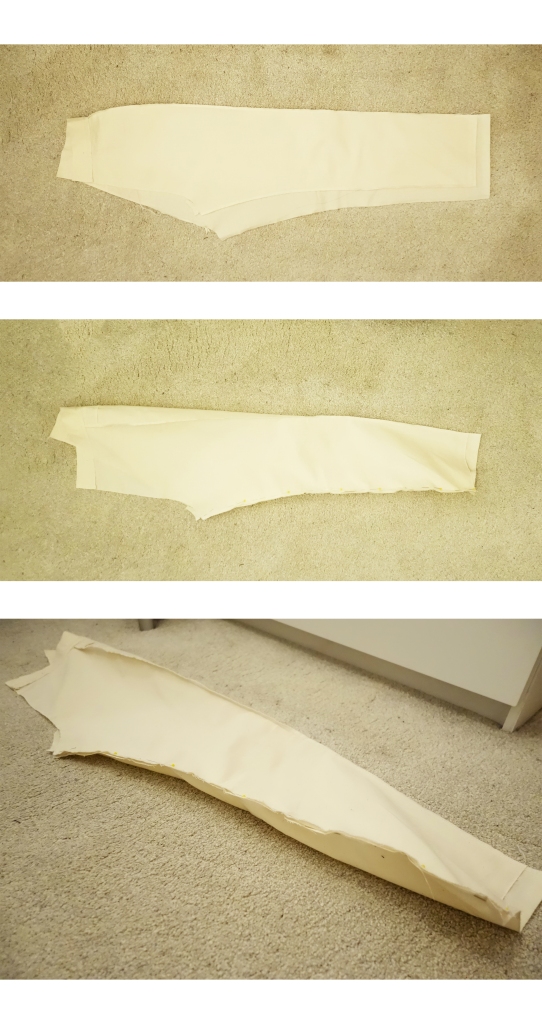
So there we have it: the (or a) cause of twisted legs in jeans is when either the front or the back isn't level (maybe because the seamstress/seamster stretched one of them and cut it off to match). I think this happens more if the problem extends below the knee.

I'm glad I learned that little tidbit, especially as I want to be a Master Tailor at Levi's. :)

Labels: , , , , , ,

Monday, 14 September 2015

My Cut21 Jeans -- The Test Ride

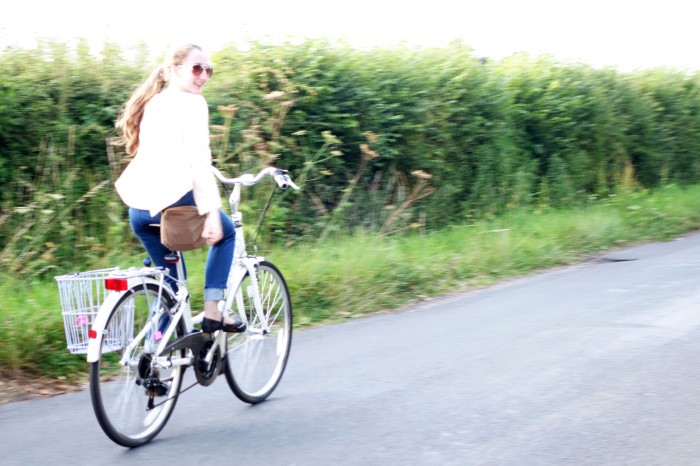
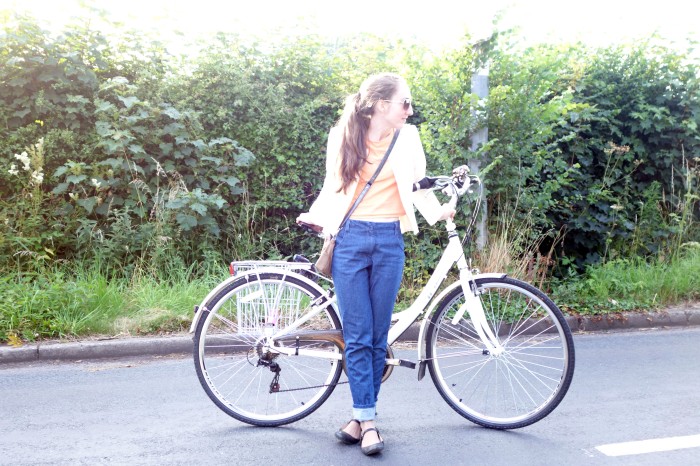
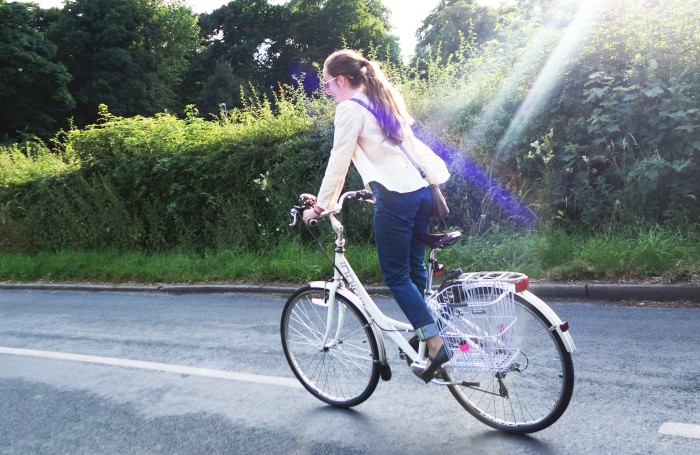
Last week I had a job interview at a bike shop in York and made some jeans for it. They were the Cut21 Jeans made over my jeans block, so the fit is a little different, partly because there were some changes I wanted to make, like narrowing the legs.
DSC06379
Cut21 Jeans test ride, worn with Cut21 Jacket Toile and Cut21 handbag.
The jeans are getting more comfortable as I'm breaking them in. I'm used to stretch denim or skirts. Mainly skirts. They were not comfortable to begin with.
DSC06368
Cut21 Jeans front view; they slip down a bit because the waistline stretched a little during sewing. That is why "wad" appears. If I had a belt that wouldn't happen.
Aldrich's jeans and trouser drafts go right to the floor, which is about 8cm longer than a garment's inside legs would be, which is roughly what I have as my turn ups. It's lucky they are this length. When I drafted the pattern months ago I evidently typed in 120cm instead of 102cm, so when I printed out my pattern it were frankly too long. I shortened it and narrowed the leg to get this fit. I've corrected my Illustrator pattern now. :)
Many of the features of these jeans you have already seen on the original Cut21 jeans but, as I said, I changed a few things. Specifically:
  • the narrower leg (measured round my ankle with the tape at an approximated circumference)
  • no yellow hand-topstitching (no time, haven't bothered since)
  • and the belt-loops are now uniform in length and made from the selvedge, which I thought was a nice touch.
Making the belt-loops
DSC06381
The fit is pretty good (bear in mind that they are slightly crumpled here for having been worn while cycling). I can't really say whether the gusset improves comfort because I don't have any jeans without a gusset. It's not as nice as cycling in a skirt anyway.

Things I Would Like To Improve

  • The back pockets are a bit far apart. I think they could do to be 1.5cm nearer to the CB seam.
  • The little pocket that I was going to keep my keys in is too small for that, so it's really just for looks and I don't like that.
  • I still couldn't get the facing to be perfectly aligned at the CF. You can't tell from the outside, but still...
  • The waist is too low, and I think it stretched a bit during sewing. I suppose that is why they fuse waistbands in RTW jeans. I didn't do a higher back waistline either, so the whole waistline needs redesigning if I'm to make another pair.
  • The shape on the front waistline detail is not perfectly round.

Thinks I'm pleased with

  • Not one pin was used to sew these! (I've given up pins for sewing lately; I don't need them).
  • RTW fly front zip like in my brother's jeans (slightly different though as they use a felling attachment and make their patterns accordingly in RTW; you work with what you have)
  • The fit of the legs. It reminds me of Hiut denim (great company; I've never bought anything from them because I make my own, but they look good!)
  • The fit on the crutch -- no monobutt here!
  • They get more comfortable the more I wear them
  • They're real denim, not stretch stuff. It's so nice and the perfect step between weighty denim and soft denim, which is nice for women's wear. It got it from Merchant & Mills.
So they are my Cut21 jeans 2.0. They're going to look so cool with my Cut21 jacket (I'm working on a hack for that now)!
If you could make some dream jeans, what would they be like? Any special features? A particular fabric? Please do share in the comments below!
Sabrina

Labels: , , , ,

Monday, 24 August 2015

Cut21 -- Part 4 -- The Jeans

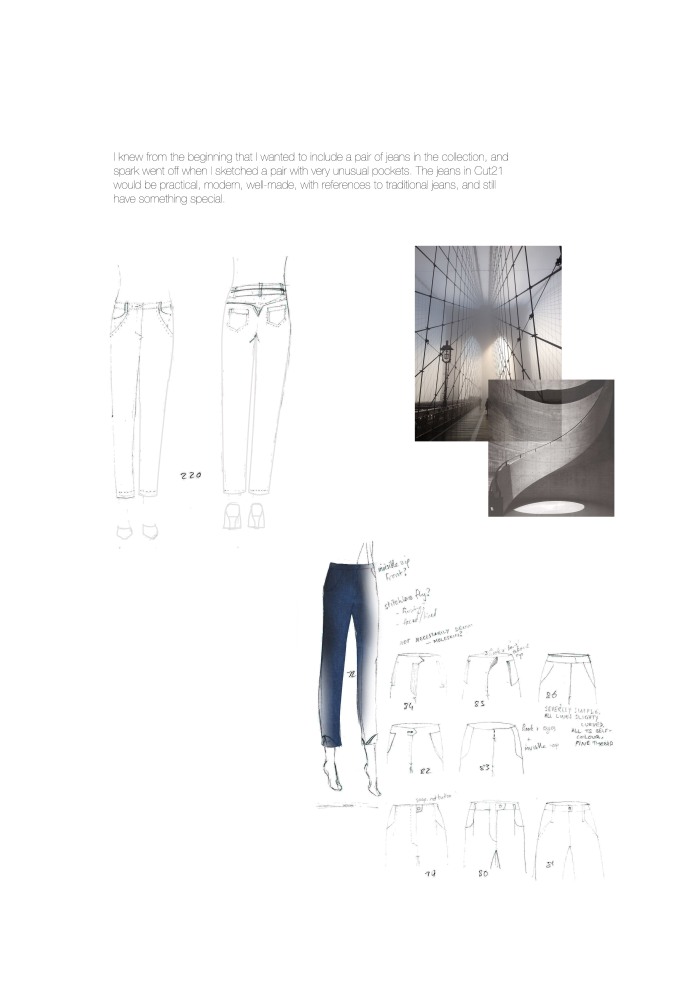
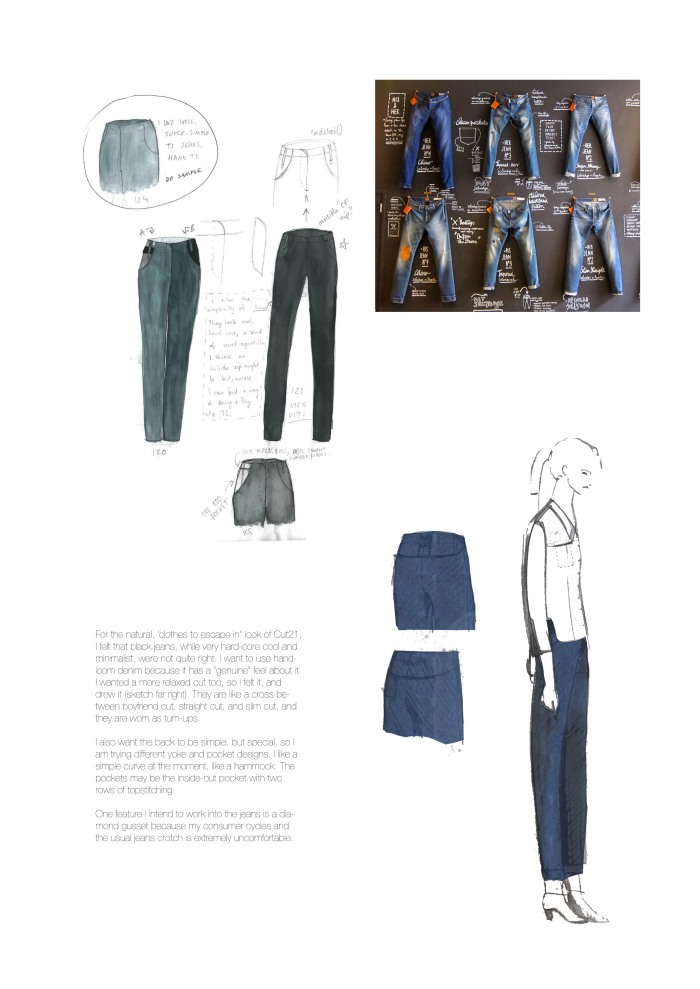
The second part of the outfit is the jeans. I knew I wanted to make some for my FMP, and to begin with, the designs were fairly mainstream, though better-fitting. As it goes with designing, the more I sketch, the sooner I come to a good idea. I came to these (note: these are my sketchbook pages, not my scruffy-book pages):
1718Some features I chose to include in the jeans were: a slightly lower front waist so it doesn't dig into you; a gusset between the legs to avoid the "slicer seam" problem; and purposes, a contoured waist-facing instead of a traditional straight-cut waistband, giving a better fit and less bulk, as well as cleaner lines for the aesthetic. I wanted slim-fit legs, turn-ups, and, eventually, a back yoke shaped like a traditional shirt hem, just because.
Now, had I been able to make them in my size, I would have had more freedom to finesse the fit. As it was, I was required to make them in a tall size 12 (probably a shop size 10), and had no one the right size and height to test them on. I tried the toile on myself and had to pin a considerable amount out a the waist and turn the hems up a lot more. (Images here to save data).
These are the jeans I finished with.
Cut21 Jeans - Front
Notice the high back and low front, for comfort and security while riding.
Cut21 Jeans - backGranted, they would look better on a person. :)
Here are some detail shots:
DSC05942
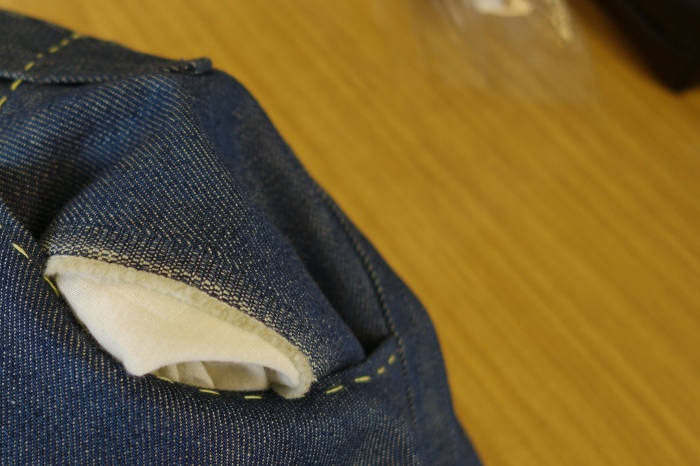
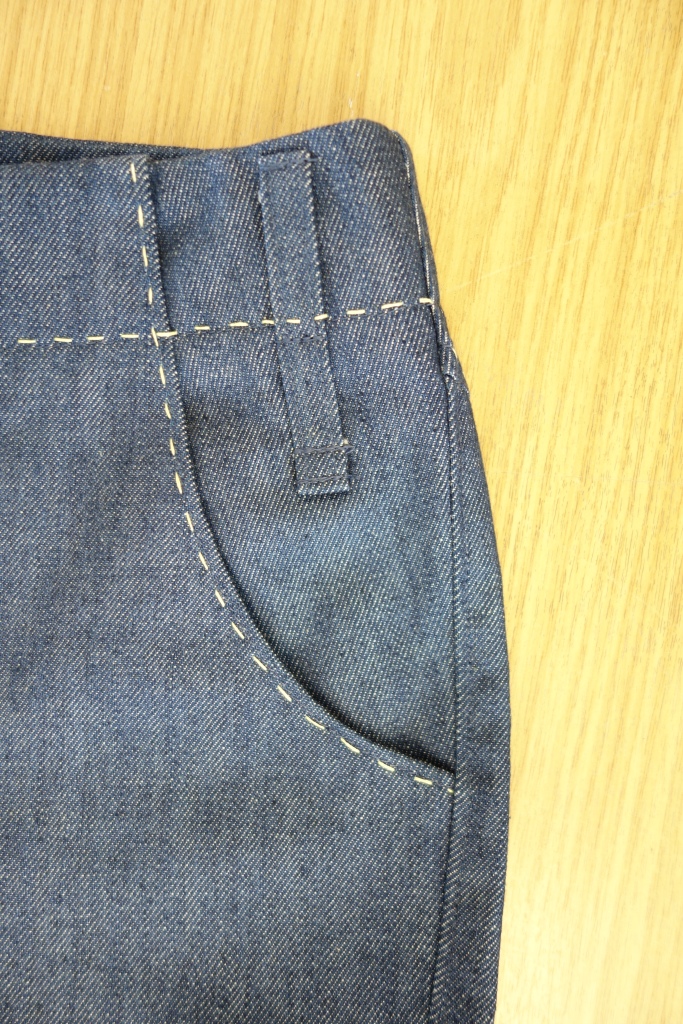
The pockets feature the soft selvedge of this non-selvedge 11oz denim.
DSC05945
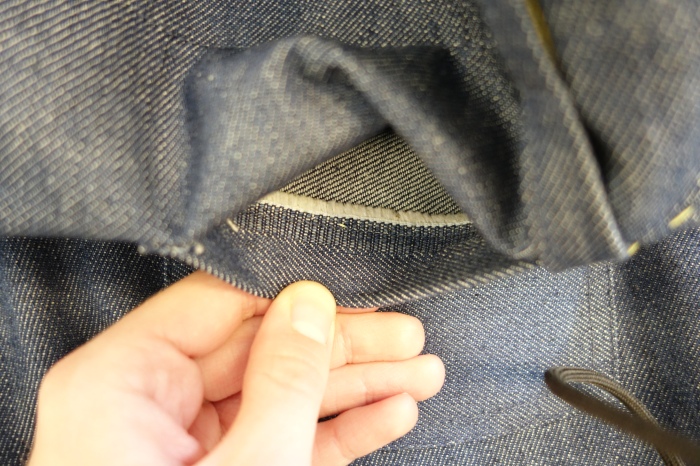
Inside the back pocket
DSC05946
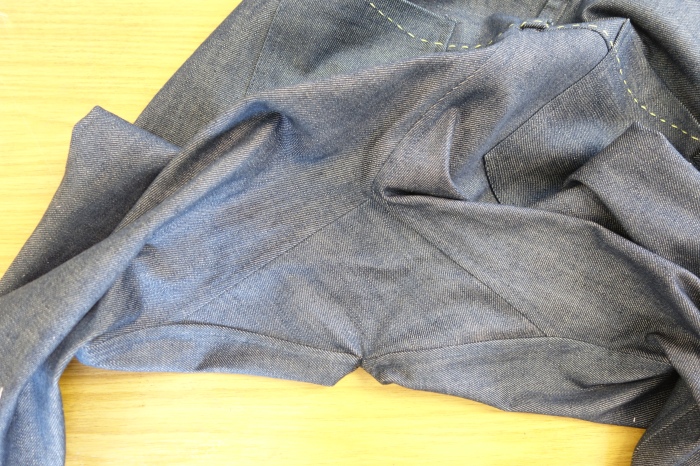
Crutch gusset to make cycling more comfortable.
The gusset was quite tricky to sew. I had to clip into the corners to be able to get past the crutch point. I would have used a curved gusset like Kathleen Fasenella, but I couldn't get the curved edges to be the same length as where they had to go on the jeans, so I used a diamond gusset instead. She does on her jeans anyway so it must be acceptable.
DSC05935
Hand-topstitching using waxed embroidery floss.
Even though I used hand-topstitching, there is a lot of machine top-stitching on these jeans too. It's virtually invisible as I used the right colour Gutermann Sew-all thread (I can't remember the number for sure, but I think it was 512). I tested a couple of thread colours and put the sample and notes in my pattern file. That must get some points. :)
DSC05939
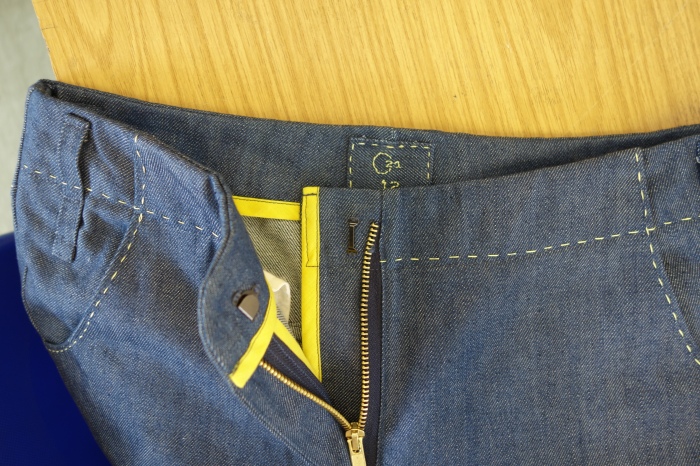
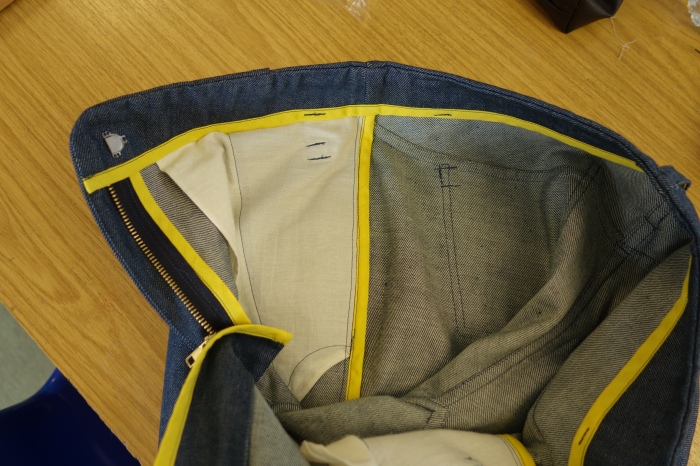
No waistband -- just a waist facing with its lower edge bound. There is a hook and bar at the top too, instead of a button and buttonhole.
If/when I make another pair, I will sort out this zip issue. I will have to stop lower down (would be easier to get the right length to begin with now I've time) because this comes close to showing when the jeans are fastened.
The other issue here was that the facings are not level inside. I don't know why, because the toile seemed okay, and the pattern, I think, was correct (must check). I want to find out what caused this because it annoys me to have that fairly noticeable (when you are getting dressed) fault. >:|
And, yes. That wobbly navy stitching on the binding on the zip guard does bother me.
Anyway...
DSC05940
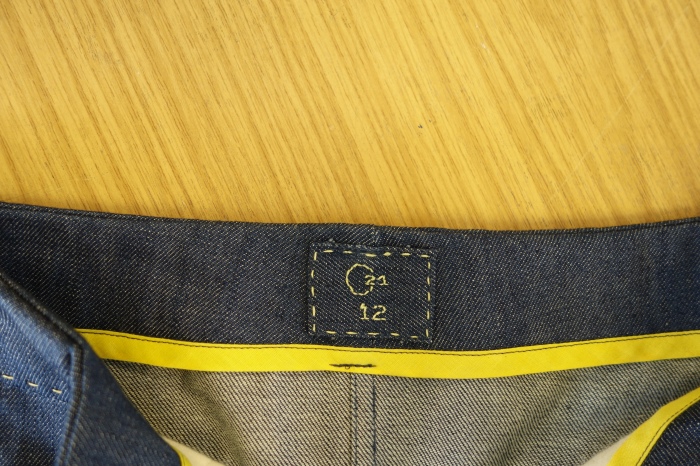
All the garments in my collection feature hand-embroidered labels. Including labels is sure to get me a few marks! :)
DSC05943
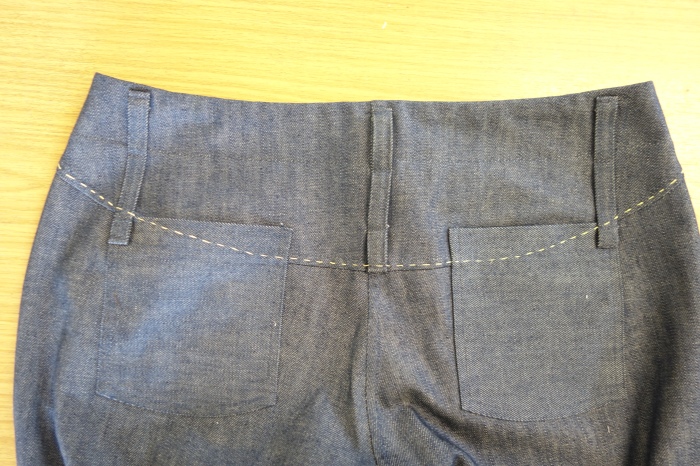
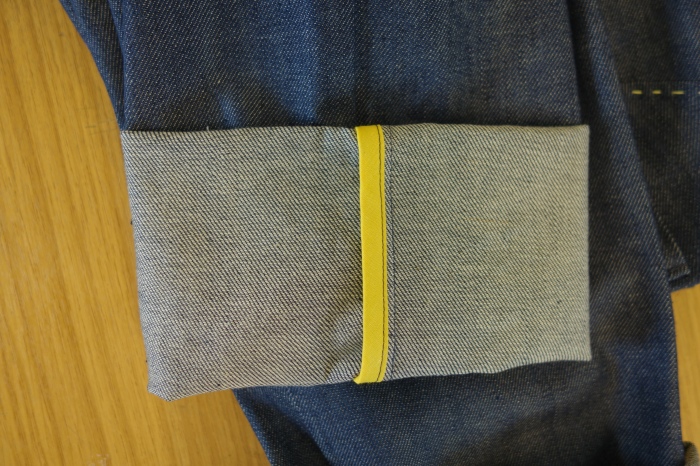
The yoke line, which you can only see by the Sashiko-inspired stitching, is meant to resemble a shirt hem. The lines of the pockets echo this. I used extra long belt-loops for looks. They are backed with yellow bias because I refuse to use an overlocker on Cut21 stuff.
The back pockets were cut on the cross (not the bias, the cross, in case you use the wrong term) to take advantage of the selvedge, so when they are worn there is a shading differences, annoyingly. You can see in the photo that the grain doesn't match.
DSC05947
So much binding!
DSC05948
Side seams are bound to suggest the look of selvedge jeans. I tried opening the seams and binding separately, but it looked too sporty so I chose this option.
One thing I learned when doing all this binding is that it is much easier to sew on in one go if you press it in half first, perhaps with a little bit extra showing on the underside, just to make sure it gets caught in the stitching. If you have a really good binder attachment then maybe you won't need to do this, but I don't have one.
So these are the Cut21 Jeans. I would give them about an 8 out of 10, taking design into consideration, and the neatness inside. Plus the fabric is really nice! :)
Next week, you will see the shirt in more detail.
Sabrina
P.S. Sorry for posting late this week, I was doing a trial but I'm evidently too slow to work in an alterations shop.

Labels: , , , , , ,