I know I haven't mentioned it on here yet, but I'm onto my final collection of my BA (Hons) Fashion Design & Production at York College. It's called The Shire and is based largely on The Hobbit and LOTR (follow my Instagram for better updates). I've more or less got my final designs and two of the garments are jeans (oh yeah, I now work at Levi's in York City Centre as a stylist and tailor). There will be a pair of Mom Jeans and a pair of skinny jeans. First I'm working with the Mom Jeans.
At Levi's we have some jeans like this. They're a slim, relaxed fit in the leg, with a good fit in the bottom, and a fairly straight waist. The latter is something I will not be incorporating because I like my jeans to stay up without a belt, but the legs are good and I want to use that look. So I compared the cut with those from Metric Pattern Cutting for Womenswear and found that they are wildly different, but both look good. The latter didn't look Mom-jeanish though when I toiled them.

- This is what the Metric Pattern Cutting Jeans look like if you widen the legs to make them Mom-jeanish

- This is the shape of Levi's jeans like the 501s, Wedgie-fit, and 501CT (from memory)
Now, bear in mind that the first ones are size 12, and the latter ones are my size (approximately 8) so mine are narrower. The legs on the Levi's jeans are much straighter at the outseam than the Metric Pattern Cutting ones. The alignment is also a lot closer to the side seam; you could very nearly make selvedge jeans with that pattern!
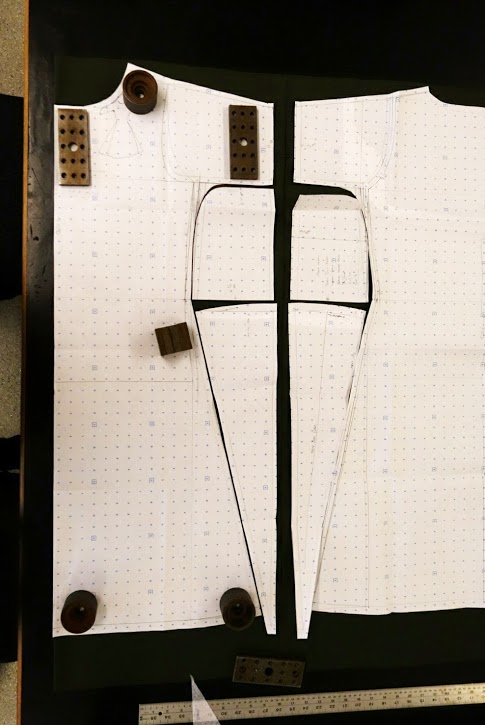
So I printed it out in my size and toiled it. All going to plan, but I made the pattern too long and shortened it on paper. This is where things began to go awry. When truing the side seam I forgot to take account of the yoke on the back, so the front pattern ended up 3cm too short, and of course I didn't realise at the time.
I noticed something was wrong when I was sewing the inseam and the back was not only not shorter than the front (it should be) but it was too long by a fair bit. I just cut it off the crutch with the overlocker (bad move). Now the inseams matched. So I sewed the side seams, and realised that it wasn't just the inseams that wouldn't have matched. I carried on sewing and tried the toile on afterwards.


Now, the first problem was the bum-nose. I do not wish to appear as if I have a tail tucked in there. I assumed that this was probably due to the issue with the crutch seam, so I moved on.
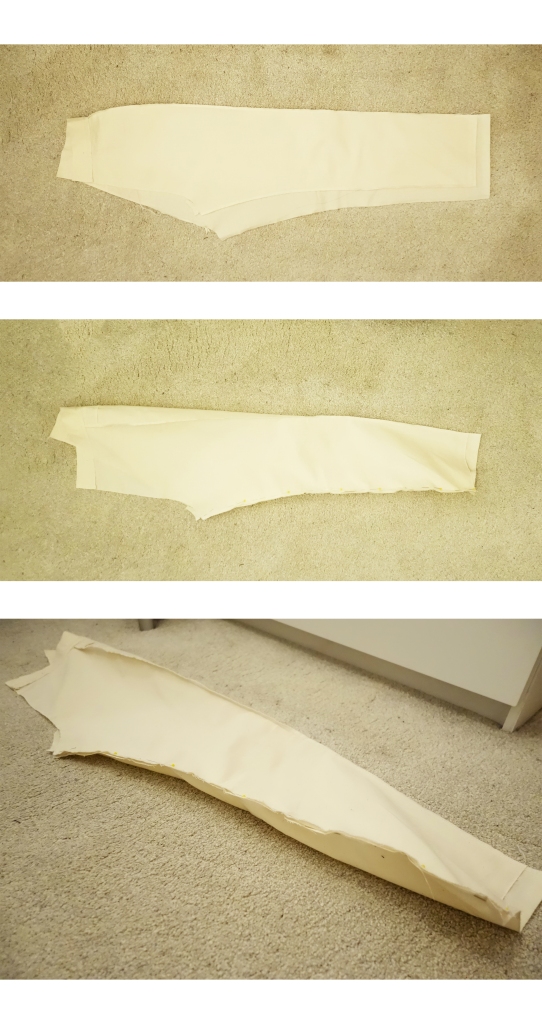
Another issue came to my attention when I looked down. The legs had twisted symmetrically. I could not fathom why. Levi's jeans didn't. And my toile wasn't even in twill so that couldn't be it. Surely it must be the fit?
I cut up one leg and examined the new shape. It was... odd.
 Front leg of toile
 Rear leg of toile
Now, I assumed, based on half-remembered facts about twisted seams, that I must adjust the pattern to make the jeans hang right when I wear them. So I spent a good few hours playing with the pattern on Illustrator, in vain, because I couldn't get the seams to be corresponding measurements. After said good few hours it occurred to me to get the toile out and examine it again. I thought, What would happen if I lay the legs as they would have, had they been the same length to begin with and I hadn't chopped that bit off?
And this is what happened... The back leg's inseam was 3cm lower than the from leg, but sewn to match it, so the grainlines were not level. This meant the leg was trying to level itself out. As it couldn't do that magically, it twisted round like a spiral staircase. It sort of makes sense and evidently is what happened, as you can see in the above photo. Accidental Pattern Magic. As proof, if I lay the front leg properly across (as it should have been) all it well. I wore it pinned for a while correctly and it didn't twist. I didn't take any pictures of this (but I'm going to re-toile to eliminate this issue and check the fit otherwise).
So there we have it: the (or a) cause of twisted legs in jeans is when either the front or the back isn't level (maybe because the seamstress/seamster stretched one of them and cut it off to match). I think this happens more if the problem extends below the knee.
I'm glad I learned that little tidbit, especially as I want to be a Master Tailor at Levi's. :)
Labels: jeans, mom jeans, pants, pattern cutting, patternmaking, The Shire, trousers


 Front leg of toile
 Rear leg of toile


